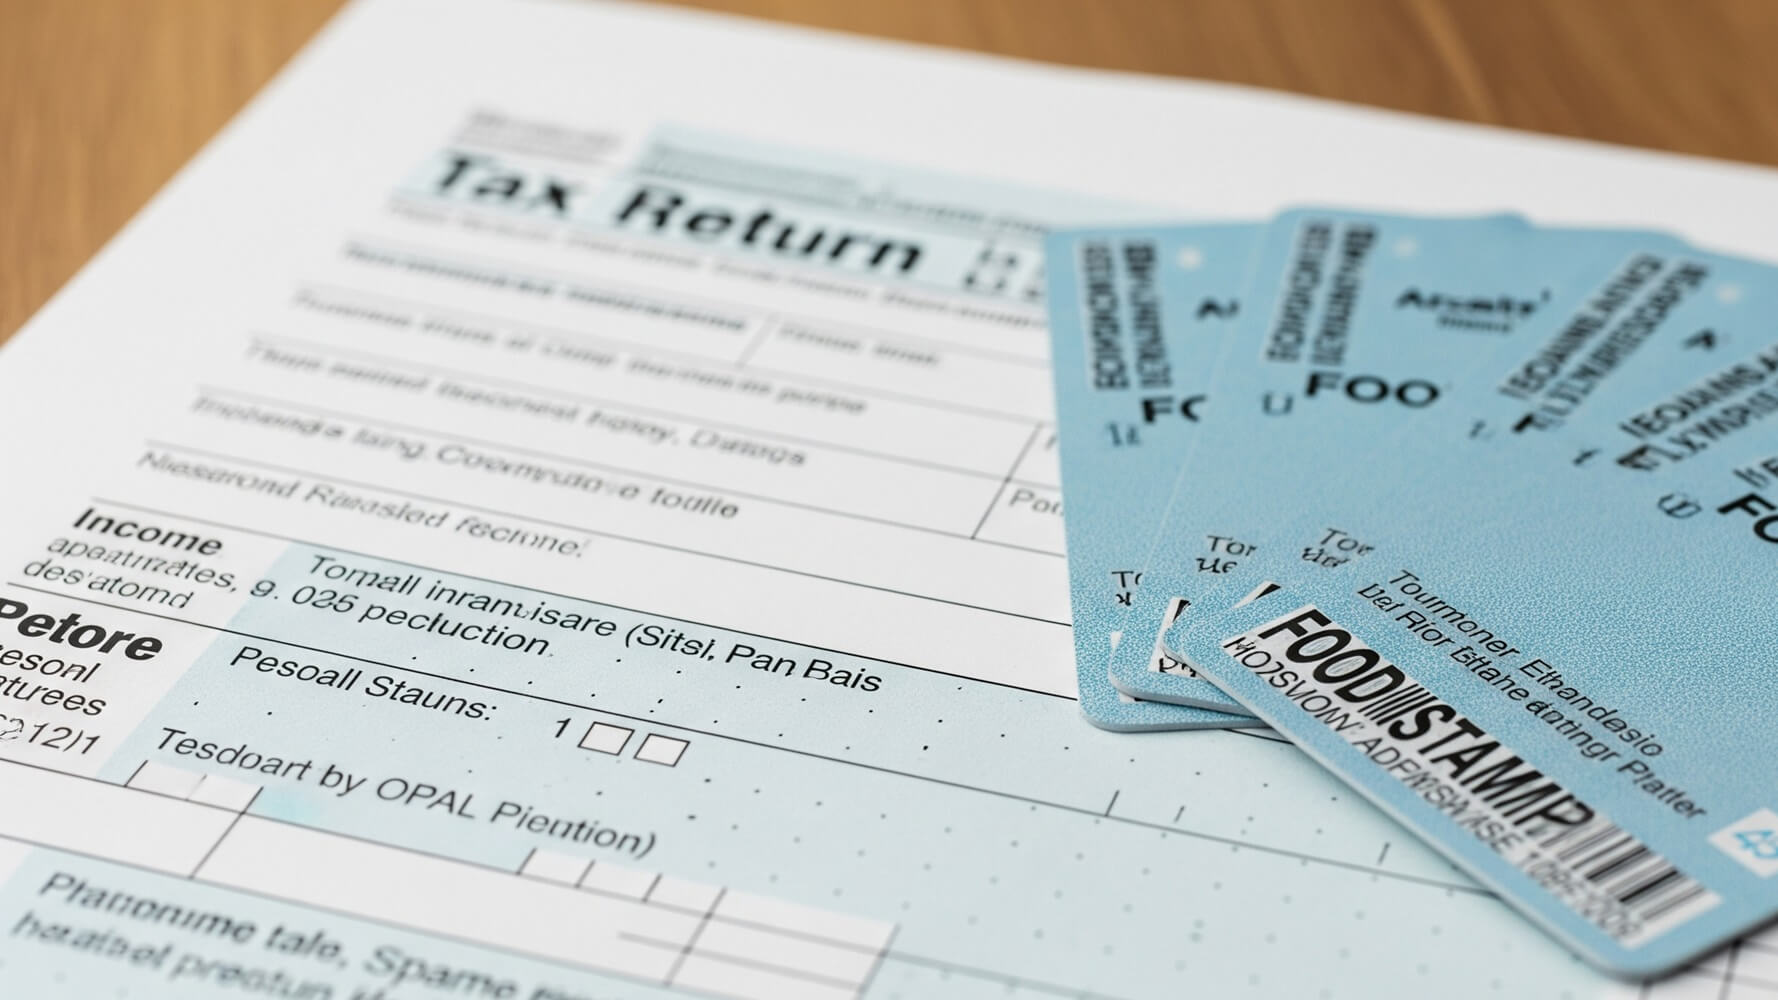
If you’re using an EBT card on Amazon, you might be wondering how to remove it. Maybe you don’t want to use it for your next purchase, or perhaps you just want to keep your payment methods organized. This guide will walk you through the steps on how to do just that. It’s not super complicated, and we’ll break it down so it’s easy to understand. Let’s get started!
Why Would I Need to Remove My EBT Card from Amazon?
There are several reasons why you might want to remove your EBT card from your Amazon account. Maybe you’ve already used your benefits for the month and don’t want to accidentally use it again. Perhaps you’re trying to keep your grocery purchases separate from your other shopping. Or, you could just be tidying up your account! Whatever the reason, knowing how to remove your EBT card gives you more control over your Amazon experience.
Think about it like this: you wouldn’t leave your debit card lying around for anyone to use, right? Removing your EBT card is similar; it’s about keeping your information secure and managing your money the way you want.
Here are some common scenarios where removing the card makes sense:
- You’ve used all your EBT funds for the month.
- You prefer using a different payment method for a purchase.
- You want to prevent accidental EBT charges.
- You are no longer eligible for EBT.
Removing the card is easy and gives you greater peace of mind.
Step-by-Step: Removing Your EBT Card
This is the heart of it – the steps to actually get rid of your EBT card from your Amazon account. It’s pretty straightforward, but let’s make sure we get it right. You’ll need to be logged in to your Amazon account to start.
First, make sure you know your Amazon password. Then, find your way to the “Your Account” section. Now, here’s the big question: **You can remove your EBT card by going to “Your Account,” then clicking on “Payment options,” and finally deleting the card from your listed payment methods.**
It might sound complicated, but we’ll break it down further in the next sections!
Finding the “Payment Options” Section
Okay, the first thing you need to do is to find the “Payment Options” section. Think of it as the place where all your credit cards, debit cards, and anything else you use to pay are stored. It’s like your digital wallet within Amazon. Finding it is key to removing your EBT card.
After logging in, locate and click on “Your Account.” It’s usually found in the top right corner of the page, or sometimes, there’s a direct link in the header. Once you’ve clicked on “Your Account,” you’ll be taken to a page with lots of different options related to your account. You’ll want to browse through the options, looking for the section related to payment methods or payment options.
You might see a menu or a list of categories. The key is to find something that clearly says “Payment” or “Payment Options.”
- Look for a section titled “Your Account” or something similar.
- Find the section or category related to payments.
- Click on “Payment Options.”
Once you click on “Payment Options,” you’ll be on the right track.
Navigating the Payment Methods Page
Now that you’ve found the “Payment Options” section, you’ll be presented with a list of all the payment methods you have saved on your Amazon account. This page is like your digital financial hub within Amazon. You’ll see your credit cards, debit cards, and, if you’ve added it, your EBT card. This is where you can add, edit, or, most importantly, delete payment methods.
Take a look at the list of payment methods. You should see your EBT card listed there, along with the expiration date and possibly the last four digits of the card number. Make sure you’re looking at the right card before you delete anything. This is crucial – double-check that it’s your EBT card you’re looking at.
Here’s a quick checklist:
- Is your EBT card listed?
- Does the information match your card?
- Are you ready to remove it?
Once you’re sure it’s the right card, move on to the next step.
Deleting the EBT Card: The Final Step
Alright, you’re at the final step! This is where you actually remove the EBT card from your Amazon account. It’s easy, but it’s important to make sure you do it right. You’ve found the “Payment Options,” and you’ve located your EBT card on the list. Now, it’s time to remove it.
Next to your EBT card information, you should see a button or a link that says something like “Remove,” “Delete,” or “Edit.” It might look like an “X” or a trash can icon. Click this button or link to begin the removal process.
Amazon might ask you to confirm that you want to delete the card. It’s a security measure to make sure you really want to do it. Confirm your decision by clicking the “Delete” or “Remove” button again, or however the confirmation is worded. If there is a confirmation, take a moment to read it to ensure you understand what you are agreeing to before clicking the button.
| Action | What to do |
|---|---|
| Locate EBT Card | Find your EBT card in the list. |
| Click “Remove” | Find and click the remove or delete button or link. |
| Confirm | Confirm that you want to remove it if asked. |
| Check | Make sure the card is gone after you click the button. |
Once you’ve confirmed the deletion, your EBT card should be removed from your Amazon account. You’ll usually see the payment method disappear from the list, indicating the removal was successful.
Troubleshooting Common Problems
Sometimes, things don’t go as smoothly as planned. If you’re having trouble removing your EBT card, don’t worry! Here are some common problems and what you can do to fix them. It’s always a good idea to double-check everything before contacting customer support.
First, make sure you’re logged in to the correct Amazon account. This might seem obvious, but it’s easy to be logged into the wrong account, especially if you share devices. Next, ensure that you’re clicking the right “Remove” or “Delete” button. Sometimes, there might be multiple payment methods listed, and you could accidentally click the wrong one.
- Double-check your account login.
- Make sure you are clicking the correct “Remove” button.
- Check for any error messages.
- Contact Amazon customer service if needed.
If you’re still having trouble, try refreshing the page or clearing your browser’s cache and cookies. These steps can sometimes fix temporary glitches. If nothing works, you might need to contact Amazon customer service for help. They’re usually very helpful and can assist you with any issues.
Confirming the Removal and Next Steps
After removing your EBT card, it’s always a good idea to double-check that it’s actually gone. Go back to your “Payment Options” and make sure your EBT card is no longer listed. This gives you peace of mind that the removal was successful. It’s also a good time to review your other payment methods to make sure everything else is as it should be.
What’s next? You might want to add a different payment method to your Amazon account, like a credit card or a debit card. You can also choose to shop with a different payment method during checkout. Removing your EBT card gives you more control over your online spending. It’s all about managing your account in a way that works for you.
Here’s a short checklist to make sure you’ve taken care of everything:
- Check your “Payment Options” to confirm the card is gone.
- Consider adding another payment method if you want.
- Review your Amazon account for anything else that needs attention.
- Enjoy your more organized Amazon account!
By removing your EBT card, you take control of your Amazon payments.
Conclusion
Removing your EBT card from Amazon is a straightforward process. By following these steps, you can easily manage your payment options and maintain better control over your online spending. From finding the “Payment Options” section to confirming the removal, each step is designed to be simple and user-friendly. Remember to always double-check your work and contact Amazon customer service if you encounter any issues. Now you can remove your EBT card and have a more organized Amazon experience!